
Custom Race Suits — Design
Sponsor Logos, Colours, and What Actually Shows in Photos
A design that looks striking on a flat digital mockup can read completely differently once it's on a moving rider photographed from a trackside angle. This guide covers the specific placement, contrast and layout choices that actually translate into good race photography, and the common mistakes that quietly waste an otherwise good design.
By NFmoto Technical Team · Last updated 25 July 2026 · 3 min read
A race suit design gets judged in a completely different context than it's designed in. It's created as a flat digital mockup, viewed head-on, static and well-lit, but it's actually seen on a moving rider, at speed, from angles a designer rarely accounts for, in whatever light a trackside photographer happens to be working with. Understanding that gap is the difference between a design that reads well in photos and one that quietly disappears the moment the rider gets on the bike.
Where Logos Actually Get Photographed From
Trackside photography is overwhelmingly shot from a small number of realistic angles: side-on as the bike passes, from slightly behind and above at a corner apex, and occasionally head-on at a chicane or hairpin. A logo placed on the front of the chest reads clearly in a head-on shot but can be almost entirely hidden in the far more common side-on and cornering shots, where the rider is leaned over and the chest panel is turned away from the camera. Shoulder, upper arm, and back panel placements tend to stay visible across a wider range of realistic angles, which is why they're the placements sponsors and riders alike tend to prioritise for maximum photographic coverage.
A chest logo can vanish in the most common side-on shots. Shoulder, upper arm and back placements stay visible across far more angles.
Check a placement
Contrast Matters More Than the Logo Itself
A logo that looks sharp on a white digital mockup can disappear entirely against a similarly-toned leather panel once actually printed or embroidered onto the suit. The single biggest factor in whether a logo reads clearly in a photograph, more than its size or position, is contrast against its immediate background. A dark logo needs a genuinely light panel behind it, and vice versa, not just a "close enough" tonal difference that looked fine on a screen.
This is particularly easy to get wrong with sponsor logos supplied as a single fixed colour file, since a logo designed for a white background doesn't automatically translate well onto a suit's actual colour scheme. Checking how a specific sponsor's logo will actually sit against the surrounding panel colour, and adjusting the panel layout around it if needed, is a real design step, not an afterthought to handle after the suit is already built.
Panel Seams Can Split a Logo Awkwardly
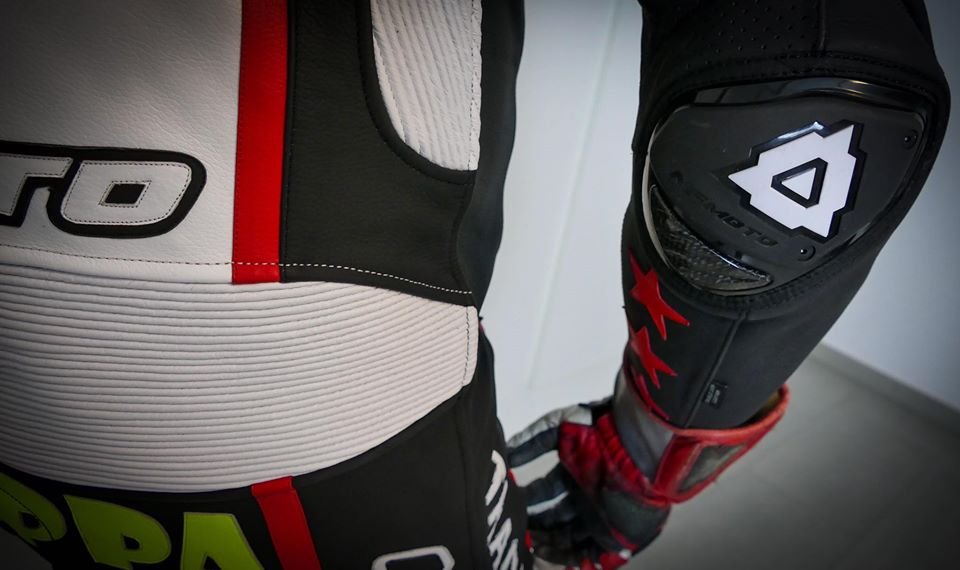
A race suit is built from multiple leather panels joined by seams, and a logo or design element placed without accounting for where those seams actually fall can end up visibly split or distorted across a seam line once the suit is assembled. This is invisible on a flat 2D mockup that doesn't reflect the suit's actual panel construction, which is exactly why a design proof reviewed against the real pattern layout, not just a generic template, matters before anything is finalised. Adjusting a logo's size or position slightly to sit cleanly within a single panel, rather than straddling a seam, is a small change that makes a real visible difference in the finished suit.
Colour Choices for Visibility, Not Just Aesthetics
Beyond sponsor logo contrast, the suit's overall colour scheme affects how visible and recognisable a rider is in photos and, in a race context, on track generally. High-contrast colour blocking (genuinely distinct colours meeting at clear panel boundaries, rather than a gradient or subtly-toned palette) reads more clearly at speed and from a distance than a design relying on fine detail or close tonal variation, which tends to blur into a single mass of colour once the bike is actually moving.
Getting the Design Proof Right
NFmoto's design and artwork proof stage, typically taking 3-5 days during production, exists specifically to catch these issues before leather is cut. Reviewing the proof against the actual pattern layout, not just a flat generic silhouette, and asking directly how a specific sponsor logo will look once printed or embroidered onto the chosen panel colour, rather than assuming the supplied logo file will translate perfectly, makes for a meaningfully better outcome than approving a proof based on how it looks in isolation.
The design proof stage takes 3–5 days and exists specifically to catch seam-splitting and contrast issues before any leather is cut.
It's also worth discussing directly which placements matter most for photographic coverage if sponsor visibility is a genuine priority for the order, since prioritising shoulder and upper-arm placements over a chest-only logo can make a real difference in how often a sponsor's branding actually appears in usable race photography.
Common Questions
Where should I place a sponsor logo for the best photo coverage?
Why does my logo look different on the suit than on the digital mockup?
Can a logo be split by a panel seam?
Should I choose high-contrast or subtle colours for my design?
How long does the design and artwork proof stage take?
Can I ask for specific placements to maximise sponsor visibility?
Continue Reading
See Real Design Examples
Browse finished suits in our gallery, or talk to us about your own sponsor and colour requirements.